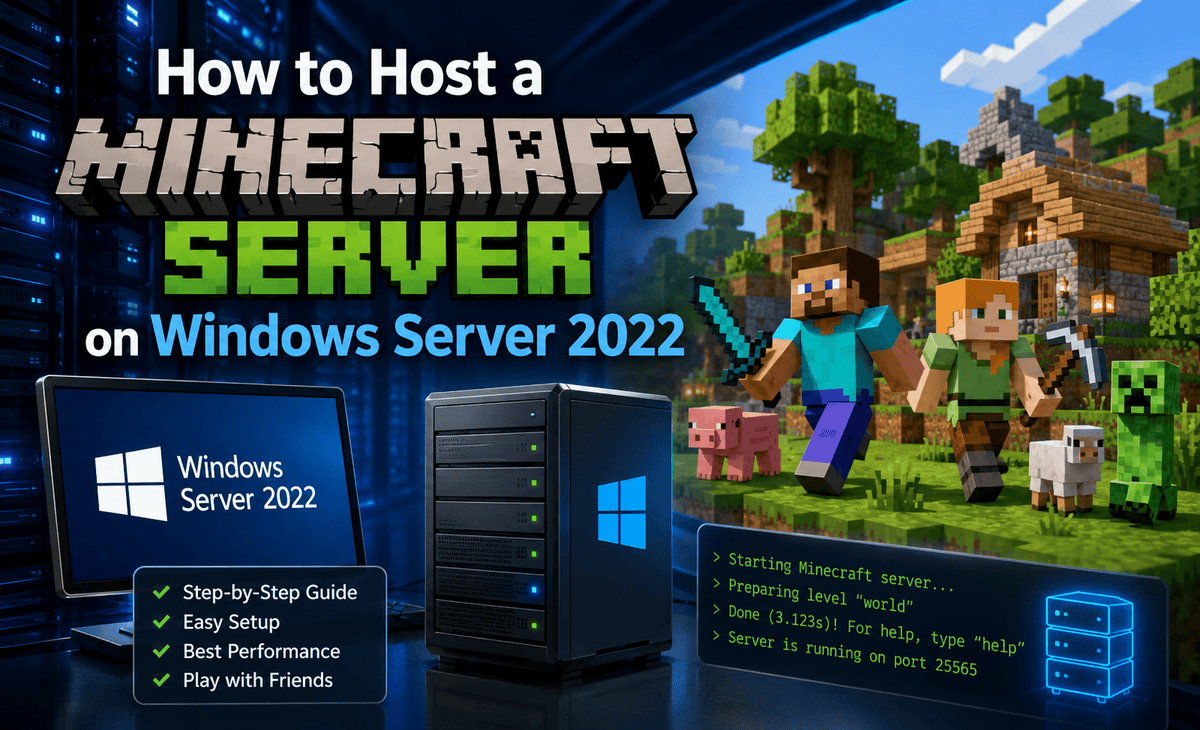
Imagine building your own Minecraft world, inviting your friends or community to join, and running everything on a powerful, always-on server that you fully control. No third-party hosting fees. No random downtime. No restrictions on plugins or mods. Just you, your server, and unlimited possibilities.
That dream is completely achievable with Windows Server 2022. It is stable, secure, handles network connections beautifully, and has more than enough power to host a smooth Minecraft experience for dozens of players. But if you have never set up a Minecraft Server before, the process can feel overwhelming. Java versions, port forwarding, firewall rules, RAM allocation- there is a lot to figure out.
Table of Contents
This guide breaks it all down in simple, beginner-friendly steps. By the end, you will have a fully working Minecraft Server running on Windows Server 2022 that you and your friends can connect to from anywhere.
Why Host a Minecraft Server on Windows Server 2022?
Before jumping into setup, it helps to understand why Windows Server 2022 is such a great choice for hosting Minecraft.
Windows Server 2022 is built for reliability. It is designed to stay up and running for weeks or months at a time without rebooting, which is exactly what you want for a game server. It also handles multiple network connections smoothly, supports advanced security features, and gives you full administrative control over every aspect of your hosting environment.
Compared to running a server on your regular Windows 10 or 11 PC, Windows Server 2022 has fewer background processes competing for resources, better remote management tools, and stronger security defaults. You can also run it on dedicated hardware in your home, in a colocation facility, or as a cloud virtual machine.
The biggest practical benefits are control, performance, and customization. You decide which Minecraft version to run, which mods or plugins to install, how much RAM to allocate, and who gets to join.
What You Need Before You Start
Setting up a Minecraft Server on Windows Server 2022 requires some preparation. Make sure you have these things ready.
First, a Windows Server 2022 installation. This can be a physical machine, a virtual machine, or a cloud server from a provider like Azure, AWS, or any other VPS host.
Second, administrator access to the server. You will need to install software, configure firewall rules, and adjust system settings.
Third, a stable internet connection with enough upload bandwidth. For a small Minecraft Server with up to 10 players, even a modest broadband connection works. For larger servers, you will want more upload bandwidth.
Fourth, decent system resources. A minimum of 4 GB of RAM, a dual-core processor, and 10 GB of free disk space is enough for a small server. For 10–20 players, aim for 6–8 GB of RAM. For larger communities, 16 GB or more is recommended.
Fifth, the latest Java Runtime Environment. Modern Minecraft Server versions require Java 17 or later.
Step 1: Install Java on Windows Server 2022
Minecraft is a Java application, so the first thing you need is a compatible Java Runtime Environment.
Step 1.1: Open your web browser on the Windows Server 2022 machine and go to the official Adoptium website to download Eclipse Temurin (a widely trusted, free Java distribution).
Step 1.2: Download the latest LTS version of Java 21 for Windows x64. Choose the .msi installer for easy setup.
Step 1.3: Run the installer. During installation, make sure to check the option to “Add to PATH” so Java is accessible from the command line.
Step 1.4: Once installed, open Command Prompt as Administrator and type:
java -version
If Java is installed correctly, you will see version information displayed. If you get an error, restart the server and try again sometimes the PATH variable needs a reboot to take effect.
Step 2: Download the Minecraft Server Software
Now it is time to get the actual Minecraft Server files.
Step 2.1: On your Windows Server 2022 machine, open a browser and go to the official Minecraft website at minecraft.net/en-us/download/server.
Step 2.2: Download the latest server.jar file. This is the official Minecraft Server software released by Mojang.
Step 2.3: Create a dedicated folder for your server. For example, create a folder at C:\MinecraftServer. Keeping your server files in their own folder makes management much easier.
Step 2.4: Move the downloaded server.jar file into the new folder.
If you plan to run mods or plugins, you might prefer alternative server software like Paper, Spigot, or Forge instead of the vanilla server. The setup process is similar; just download the corresponding jar file from the official source for that platform.
Step 3: Create a Startup Script
Running the server requires a command, but typing it out every time is tedious. A simple batch script makes life much easier.
Step 3.1: Inside your C:\MinecraftServer folder, right-click and create a new text file. Name it start.bat (make sure the extension is .bat, not .txt).
Step 3.2: Open the file with Notepad and paste in the following command:
@echo off
java -Xmx4G -Xms2G -jar server.jar nogui
pause
The -Xmx4G sets the maximum RAM the server can use (4 GB in this example). The -Xms2G sets the starting RAM (2 GB). Adjust these values based on your available RAM and expected player count. The nogui flag runs the server without a graphical window, which uses fewer resources.
Step 3.3: Save and close the file.
Step 4: Run the Server for the First Time
Now you can fire up your Minecraft Server for the first time.
Step 4.1: Double-click your start.bat file. A command window will open and the server will begin starting up.
Step 4.2: On first launch, the server will stop almost immediately and create several files in your folder, including eula.txt. This is normal.
Step 4.3: Open the eula.txt file with Notepad. You will see a line that says eula=false. Change it to eula=true to accept Mojang’s End User License Agreement.
Step 4.4: Save and close the file, then double-click start.bat again. This time, the server will fully start, generate a world, and begin listening for connections. You will see lines in the console showing the server is ready.
Step 5: Configure the Server Settings
Inside your server folder, you will now see a file called server.properties. This is where you customize how your Minecraft Server runs.
Open server.properties with Notepad and review the key settings.
server-port=25565 — This is the default port Minecraft uses. You can change it, but most players expect 25565.
max-players=20 — Sets the maximum number of players who can connect.
gamemode=survival — Default mode. Options include survival, creative, adventure, and spectator.
difficulty=easy — Sets the difficulty level for the world.
motd=A Minecraft Server — The message shown in the server list. Customize this to your server name.
online-mode=true — Keep this true to ensure only verified Minecraft accounts can join.
white-list=false — Set this to true if you want only specific players (added via the whitelist command) to join.
Save your changes and restart the server for them to take effect.
Step 6: Configure the Windows Firewall
By default, Windows Server 2022 blocks incoming connections on most ports. You need to allow Minecraft traffic through the firewall.
Step 6.1: Open Server Manager, click Tools, and select Windows Defender Firewall with Advanced Security.
Step 6.2: In the left panel, click Inbound Rules, then click New Rule on the right.
Step 6.3: Select Port and click Next.
Step 6.4: Choose TCP, enter the port number 25565 (or whatever port you configured), and click Next.
Step 6.5: Select Allow the connection and click Next.
Step 6.6: Apply the rule to Domain, Private, and Public profiles as needed for your environment, then click Next.
Step 6.7: Give the rule a name like “Minecraft Server TCP” and click Finish.
Step 6.8: Repeat the process for UDP traffic on the same port if you plan to use voice chat mods or Bedrock-compatible bridges.
Step 7: Port Forwarding (If Needed)
If your Windows Server 2022 is behind a router (typical for home or small office setups), you need to forward port 25565 from your router to your server.
Step 7.1: Log into your router’s admin panel usually accessed by entering 192.168.1.1 or a similar address in your browser.
Step 7.2: Find the Port Forwarding section (sometimes called Virtual Server or NAT settings).
Step 7.3: Create a new rule that forwards external port 25565 to your server’s internal IP address on port 25565, using TCP protocol.
Step 7.4: Save the changes and reboot the router if required.
Step 7.5: Find your public IP address by searching “what is my IP” on Google. This is the address players outside your network will use to connect.
If your server is hosted in a data center or cloud, you do not need to do port forwarding just make sure the cloud firewall rules allow incoming traffic on your chosen port.
Step 8: Test the Connection
Now it is time to see if everything works.
Open Minecraft on a client computer. Click Multiplayer, then Add Server. Enter your server’s IP address localhost if you are testing from the server itself, the internal LAN IP if testing from the same network, or your public IP if testing from the internet. Click Done, then try to join.
If everything is configured correctly, you should connect and spawn into your world. Congratulations your Minecraft Server is live on Windows Server 2022.
Practical Tips for a Smooth Minecraft Server
Keep these tips in mind to maintain a healthy server. First, schedule automatic restarts every 12 to 24 hours using Task Scheduler to clear memory leaks. Second, run regular backups of your world folder just zip and copy it to another drive or cloud storage. Third, install a server management plugin like EssentialsX (on Paper or Spigot) to gain useful commands for managing players. Fourth, monitor RAM and CPU usage through Task Manager to know when you need to upgrade resources. Fifth, never run your Minecraft Server as the only application on a Windows Server 2022 machine that also handles critical business functions game traffic can spike unexpectedly and affect other workloads.
FAQ
How much RAM do I need to host a Minecraft Server on Windows Server 2022?
For 1–10 players, 2–4 GB of RAM is enough. For 10–20 players, allocate 6–8 GB. For larger communities with mods or plugins, 8–16 GB or more is recommended. Always leave some RAM free for the Windows Server 2022 operating system itself.
Can I run my Minecraft Server 24/7 on Windows Server 2022?
Yes. Windows Server 2022 is designed for continuous operation. As long as your hardware is reliable and you schedule occasional restarts to refresh memory, your server can stay online indefinitely.
Do I need a static IP address for my Minecraft Server?
Not necessarily, but it helps. If your public IP changes frequently, players will lose access until they get the new IP. You can use a free Dynamic DNS service to keep a consistent address that automatically updates when your IP changes.
Can I host both vanilla and modded Minecraft Servers on the same Windows Server 2022 machine?
Yes. You can run multiple Minecraft Servers on the same Windows Server machine by placing each one in its own folder and assigning each a different port (for example, 25565 for one and 25566 for another). Just make sure your server has enough RAM to run them simultaneously.
Is it safe to expose my Minecraft Server to the internet?
Yes, as long as you take basic precautions. Keep your server software updated, only open the specific ports needed for Minecraft, use strong administrator passwords, and consider enabling the whitelist feature to control who can join. Avoid running other unrelated services on the same public-facing IP.
Final Recommendation
Hosting a Minecraft Server on Windows Server 2022 is one of the most rewarding projects for anyone who loves Minecraft and wants total control over their world. The setup process might seem long, but each step is straightforward, and once your server is up and running, you have a powerful, customizable platform that can serve your friends, family, or entire community.
Start small. Get a basic vanilla server running first. Test connections from multiple devices. Once you are confident with the basics, explore plugins, mods, custom worlds, and advanced configurations. Windows Server gives you the stability and flexibility to grow your project as far as your imagination allows.
A few hours of setup today gives you years of multiplayer adventures tomorrow. Now fire up that start.bat file, invite your friends, and start building.