
If you installed Windows Server Evaluation edition and tried to activate it using a product key, you might have noticed that it doesn’t work.
That’s because evaluation versions cannot be activated directly. You must first convert the evaluation edition into a full retail version before applying your license key.
Table of Contents
In this guide, we will show you step-by-step how to convert Windows Server Evaluation to a full version using official methods, along with common errors and how to fix them.
Understanding the Core Mechanism: DISM and In-Place Conversion
The reason this conversion is possible without reinstallation is that all versions of Windows Server (Standard, Datacenter, and Evaluation) share the same binary files on the disk.
The “Evaluation” status is simply a licensing flag within the system image. The DISM (Deployment Image Servicing and Management) tool is designed to change these flags and component states.
The Process at a Glance
- Check Status (DISM): Verify the current Evaluation status and identify valid targets.
- Conversion (DISM): Run the powerful DISM command to switch the edition flag (e.g., from
ServerStandardEvaltoServerStandard). - Activation (SLMGR): Use the Software Licensing Management Tool (
slmgr.vbs) to inject your purchased product key.
This ensures a seamless transition from the time-limited evaluation to a perpetually licensed server.
Crucial Pre-Conversion Checklist (Stop and Read This!)
Before you open the Command Prompt, ensure you meet these critical requirements. Skipping these steps can lead to significant headaches.
1. Back up All Data and System State
While the DISM command is generally non-destructive, any major system modification carries a small risk.
- Best Practice: Create a full System State Backup using Windows Server Backup or your preferred third-party backup solution. This is your safety net.
2. Administrator Access
You must be logged in as an administrator or using an account with elevated privileges. All commands must be run from an elevated Command Prompt or PowerShell.
3. Obtain Your Product Key
Ensure you have the valid 25-character product key for the specific target edition you want (e.g., Windows Server 2022 Standard or Datacenter). A single key is needed for the final activation.
4. Understand Your Conversion Path (Crucial Limitation)
You cannot downgrade editions. You can only move up or stay at the same level:
- Allowed: Evaluation → Standard
- Allowed: Evaluation → Datacenter
- Allowed: Standard → Datacenter (This is called an upgrade, not a conversion, but uses a similar process).
- FORBIDDEN: Datacenter → Standard (Downgrades are not supported).
Identify Your Current Server Version and Options
First, we need to determine the exact image name you are running and what target editions are available for conversion.
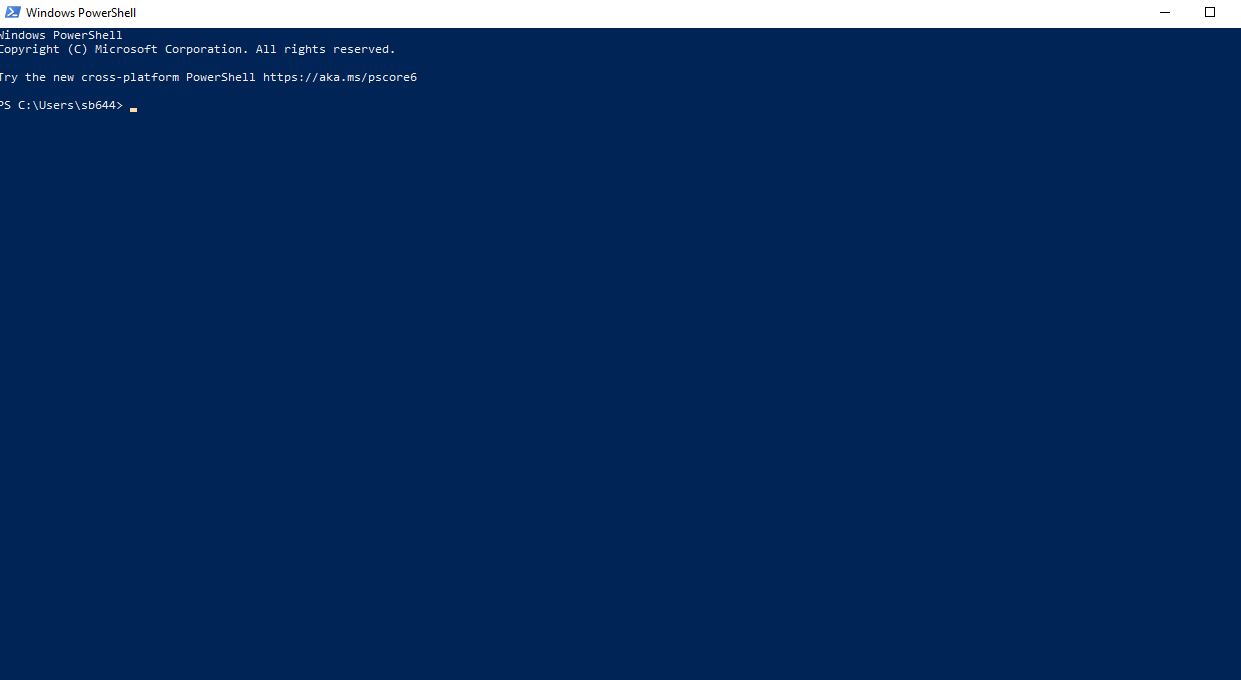
1. Open Elevated Command Prompt or PowerShell
Right-click the Start Button and select Windows PowerShell (Admin) or Command Prompt (Admin).
2. Identify the Current Image Index
Type the following DISM command:
DISM /online /Get-CurrentEdition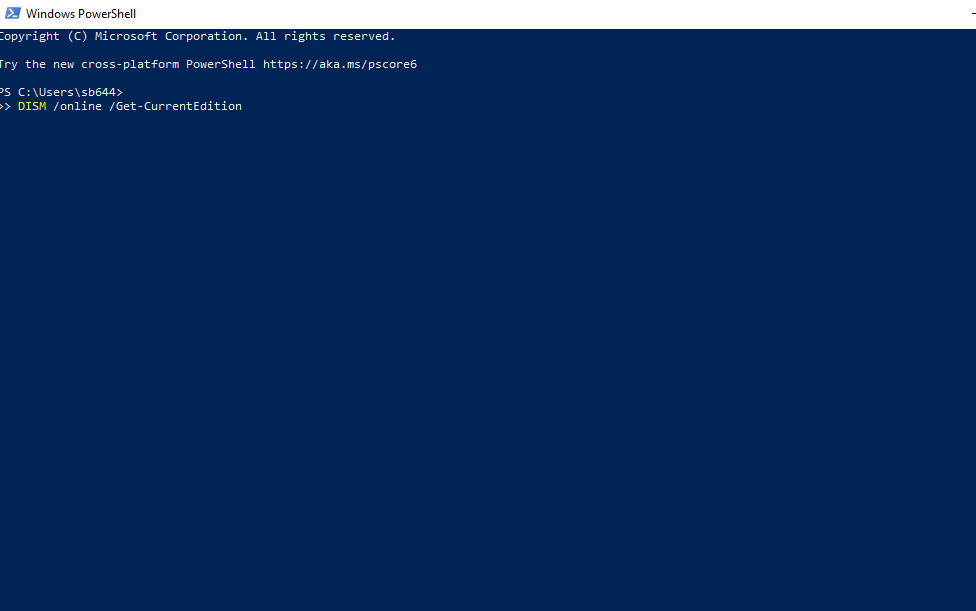
This command will output your current edition, which will likely be something like ServerStandardEval or ServerDatacenterEval.
3. Find Available Target Editions
To see which editions you can convert to, use this command:
DISM /online /Get-TargetEditions
The output will show the valid image IDs for your current server installation, typically:
ServerStandard(for Standard Edition)ServerDatacenter(for Datacenter Edition)
Note down the exact spelling of your desired target edition (e.g., ServerStandard). This will be used in the next step.
The DISM Command—Setting the Conversion Target
Now for the main event. You will execute the command to switch the server edition.
1. Execute the Conversion Command
Using the target edition name you noted in Step 1 (e.g., ServerStandard), run the following command. Replace [YourTargetEditionName] with the actual name:
DISM /online /Set-Edition:[YourTargetEditionName] /ProductKey:XXXXX-XXXXX-XXXXX-XXXXX-XXXXX /AcceptEula
Wait! While you can put your actual product key in the command line, it’s safer and cleaner to use the built-in Generic Volume License Key (GVLK) for the installation phase. This GVLK only changes the edition; it does not activate it.
Recommended Command (Using GVLK for Standard):
DISM /online /Set-Edition:ServerStandard /ProductKey:VDYBN-27WGF-VRWXT-2Y4WM-KMT4B /AcceptEula
Recommended Command (Using GVLK for Datacenter):
DISM /online /Set-Edition:ServerDatacenter /ProductKey:WX4NM-KYPJD-QJRMT-YHFQ2-DRRDP /AcceptEula2. Monitor the Conversion Process
Once you hit Enter, DISM will begin the conversion. This process involves adding/removing features specific to the new edition and updating system files.
- The operation will show a progress bar (e.g., 10%, 20%…) and can take 10 to 30 minutes depending on your server’s hardware speed.
- DO NOT INTERRUPT THIS PROCESS. Do not reboot, close the window, or shut down the server.
3. Server Reboot
Once the process reaches 100%, the command prompt will ask you to restart the computer to complete the operation.
Deployment Image Servicing and Management tool
...
The operation completed successfully.
Do you want to restart the computer to complete the operation? (Y/N)
Type Y and press Enter. The server will restart.
After Reboot: Your server is now running the full, non-evaluation version (Standard or Datacenter), but it is likely running on the temporary GVLK and is not yet fully activated with your perpetual license.
The SLMGR Command Applying the Product Key
The final step is to swap the temporary GVLK with your permanent, purchased product key and force activation. This is done using the Software Licensing Management Tool (slmgr.vbs).
1. Install Your Permanent Key
Open the Elevated Command Prompt again. Replace the X’s with your actual 25-character product key:
slmgr.vbs /ipk XXXXX-XXXXX-XXXXX-XXXXX-XXXXX
You will get a message saying: “Installed product key XXXXX successfully.”
2. Force Online Activation
Now, force the system to contact Microsoft’s servers and validate the new key:
slmgr.vbs /ato
You will get a message: “Activating Windows(R) Server… Product activated successfully.”
If you receive an error here, check your internet connection and the firewall settings.
Final Verification and Licensing
To confirm the successful conversion and activation, run these two final checks.
1. Verify Edition
Run the initial DISM command again:
DISM /online /Get-CurrentEdition
The output should now show only ServerStandard or ServerDatacenter (with no “Eval” at the end).
2. Verify Activation Status
Run the SLMGR command to check the licensing status:
slmgr.vbs /dli
Look for these key lines in the output:
- License Status: Should read “Licensed”.
- Product Key Channel: Should read “Volume” (if using a MAK key) or “Retail” (if using an official retail key).
- Time remaining: Should read “Permanent” or “Permanent Activation”.
If all these checks pass, your server is fully converted, legally licensed, and ready for use without any time limits or future reinstallation worries.
Troubleshooting Common Errors
Encountering an error during the DISM phase is frustrating. Here are two of the most frequent issues and their resolutions.
Error 1: DISM fails with Error 1168 (The element not found)
The Problem: This error usually means the DISM tool couldn’t find the target edition name you specified, or the internal state of the image is inconsistent.
The Fix:
- Recheck Spelling: Go back to Step 1 and run
DISM /online /Get-TargetEditionsagain. The name (e.g.,ServerStandard) is case-sensitive and must be exactly correct. - Check Service Readiness: The server might be missing a dependency. Run the following command before retrying the DISM conversion:
sfc /scannow(System File Checker) If it repairs files, reboot and try the DISM conversion command again.
Error 2: DISM fails with Error 1609 (The configuration registry key is invalid)
The Problem: This is often a sign of a severely corrupted licensing store or a previous failed attempt at conversion.
The Fix:
- Clean the Key: Before running the
DISM /Set-Editioncommand, you need to clear the old evaluation product key from the system.- Run:
slmgr.vbs /upk(This uninstalls the current product key).
- Run:
- Restart: Reboot the server.
- Retry Conversion: After the reboot, retry the
DISM /online /Set-Editioncommand using the GVLK from Step 2.
Error 3: Activation fails after conversion
The Problem: You successfully converted the edition, but slmgr.vbs /ato fails with an activation error code (like 0xC004C003).
The Fix: This means your actual product key is invalid, already in use, or you have a connectivity issue.
- Verify Key Type: Ensure you are using a key that matches the edition (Standard key for Standard edition).
- Use Phone Activation: If online activation fails, use the old-school method:
- Run:
slui 4 - This opens the Telephone Activation menu. Follow the instructions to call the automated service and manually enter the Installation ID to receive the Confirmation ID.
- Run:
FAQ: Licensing, Downtime, and Reverting Changes
Q: How much downtime is required for this conversion?
A: Minimal. The DISM command itself runs while the server is operational, but it will require one mandatory reboot at the end. Total downtime is usually limited to the 5–15 minutes required for the server to reboot and services to start.
Q: Can I convert Windows Server Standard to Windows Server Datacenter using this method?
A: Yes. The process is the same: use DISM /online /Set-Edition:ServerDatacenter /ProductKey:[Datacenter GVLK or your own key] /AcceptEula. This is a non-destructive upgrade.
Q: Can I use this method to change between the Desktop Experience (GUI) and Server Core?
A: No. The DISM conversion only switches the licensing edition (Standard/Datacenter). Switching between GUI and Core is a separate process that involves installing or removing the necessary Windows features and packages.
Q: Can I revert the conversion if I change my mind?
A: No. Once you convert from Evaluation to a licensed edition (Standard or Datacenter), the process is permanent. There is no supported way to convert a full, licensed edition back to an Evaluation edition.
Q: What if I don’t have a purchased key yet?
A: You can still run the DISM conversion in Step 2 using the GVLK. This removes the “Evaluation” watermark. The server will run unactivated for
Final Thoughts
Converting Windows Server Evaluation to a full version is a simple process if you follow the correct steps.
Once converted, you can activate your server using a valid license and unlock all features without limitations.
If you’re planning to use Windows Server long-term, it’s always recommended to use a genuine license key for stability and security.
Did this technical guide save your server from a dreaded reinstallation? Share your successful conversion experience in the comments below!